
Pewter Casting: A Beginner's Guide
- Martha Edwards
- Mar 26
- 5 min read
Pewter casting is the process of melting and pouring pewter into molds to create everything from jewellery to decorative ornaments. This guide will walk you through the basic tools, materials, and safety essentials—and give you a glimpse into the handcrafting techniques used by one of our Cornish makers, whose pewter pieces are available on the Sennen Jewellery website.
Pewter Casting: Key Takeaways
Pewter is a soft, beginner-friendly metal with a low melting point—perfect for jewellery, crafting and design work.
You’ll need basic casting supplies: moulds, silicone molds, clay, and protective gear - safety is crucial when working with molten metal.
Many casting pewter issues can be fixed by adjusting your pouring or mold technique - practice and patience go a long way.
Molten pewter is easy to work with—just stay safe and work with care.
A Bit About Pewter—and a Visit to the Workshop

Pewter is a soft, silvery metal traditionally made from tin (around 85–99%) mixed with copper and antimony. This alloy is lead-free and safe for home casting. In Cornwall, pewter casting often incorporates Cornish tin, giving a nice local touch to the final metal work.
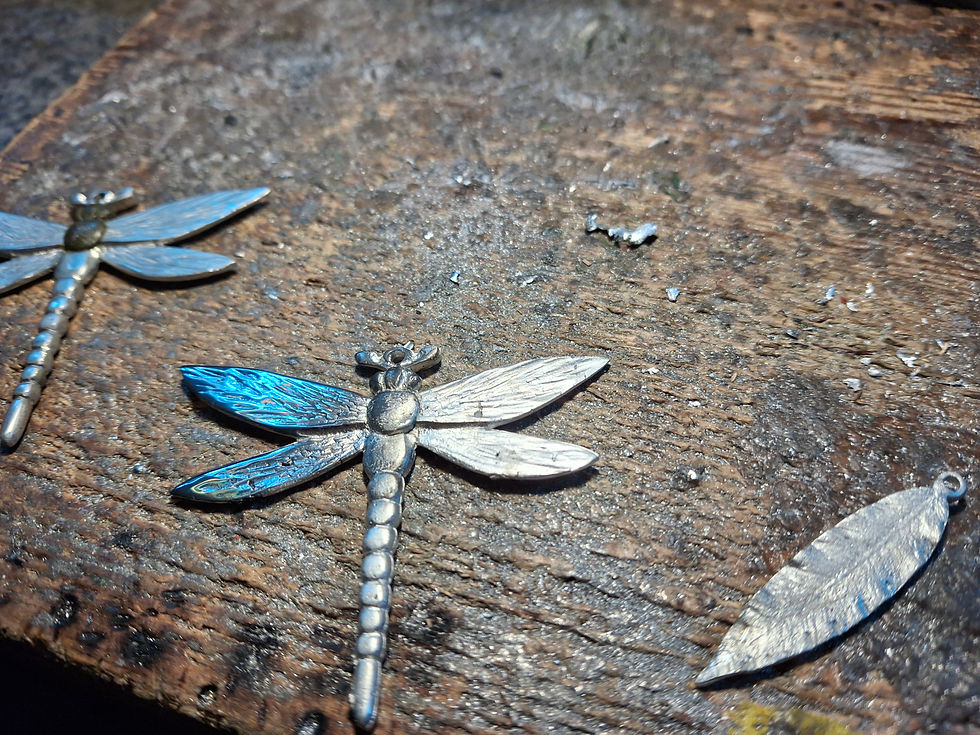
Recently, I had the chance to visit one of the small pewter makers we work with. His workshop is tucked away in the Cornish countryside, and he casts each piece by hand with incredible care and precision. He explained how he begins every design by sculpting it in a clay-like material, which is then used to create a custom silicone mould.
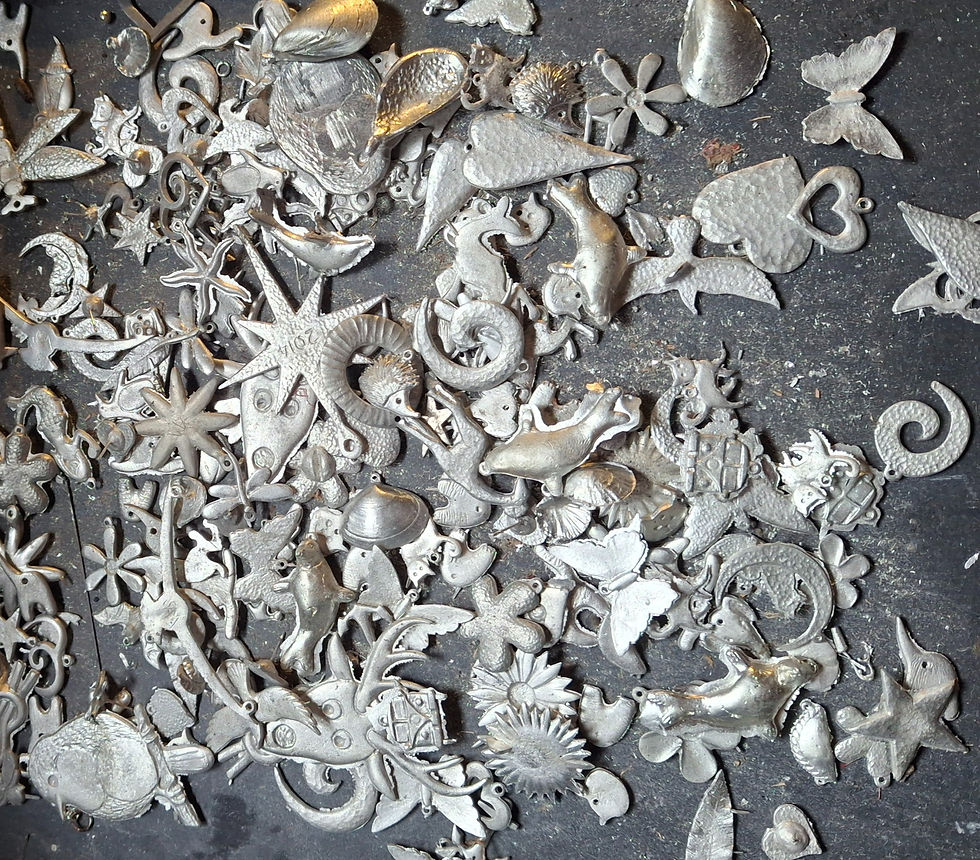
From there, he casts the pewter using his own handmade pewter moulds. This allows him to produce consistent results while keeping the handmade charm of the original shape. It's a process that really highlights the skill and craftsmanship behind every piece.

Seeing this first-hand made me appreciate just how much time and care goes into the jewellery we sell—each piece starts as a small idea and is brought to life through careful handwork and attention to detail.
Getting Started: Tools & Safety Essentials
Before you begin casting pewter, here’s a checklist of what you’ll need:
Pewter ingots or scrap
Silicone molds or metal moulds
Stainless steel ladle
Heat source (small furnace or torch)
Double sided tape (optional, for stabilising molds)
PPE: gloves, apron, respirator, leather shoes
Working with molten metal means safety comes first. Always wear protective gear, and create a ventilated space to avoid any fumes. Have a fire extinguisher nearby just in case.
Creating the Initial Design

Before making a mould, you’ll need a model to work from. Many makers begin by sculpting the original design in clay—it’s easy to shape, inexpensive, and captures fine detail well. Others choose to cast directly from real-world objects, like a shell, piece of driftwood, or even a dried leaf. These natural materials can make beautiful impressions and give a one-of-a-kind look to your final pewter piece.
The maker I visited sculpts his designs by hand using a clay-like modelling material, then sends them off to have silicone molds custom made. These are used to create the final pewter moulds used during casting. It's a clever combination of traditional and modern techniques that allows for precision and repeatability while still keeping a handmade feel.
How the Mould is Made

There are different types of moulds: sand, silicone, metal, and cuttlefish bone. Our Cornish maker begins by shaping his designs from clay, then sends them off to have silicone molds custom made. These moulds are used to create precise shapes when casting pewter, and can be reused many times.
Melting Pewter Safely
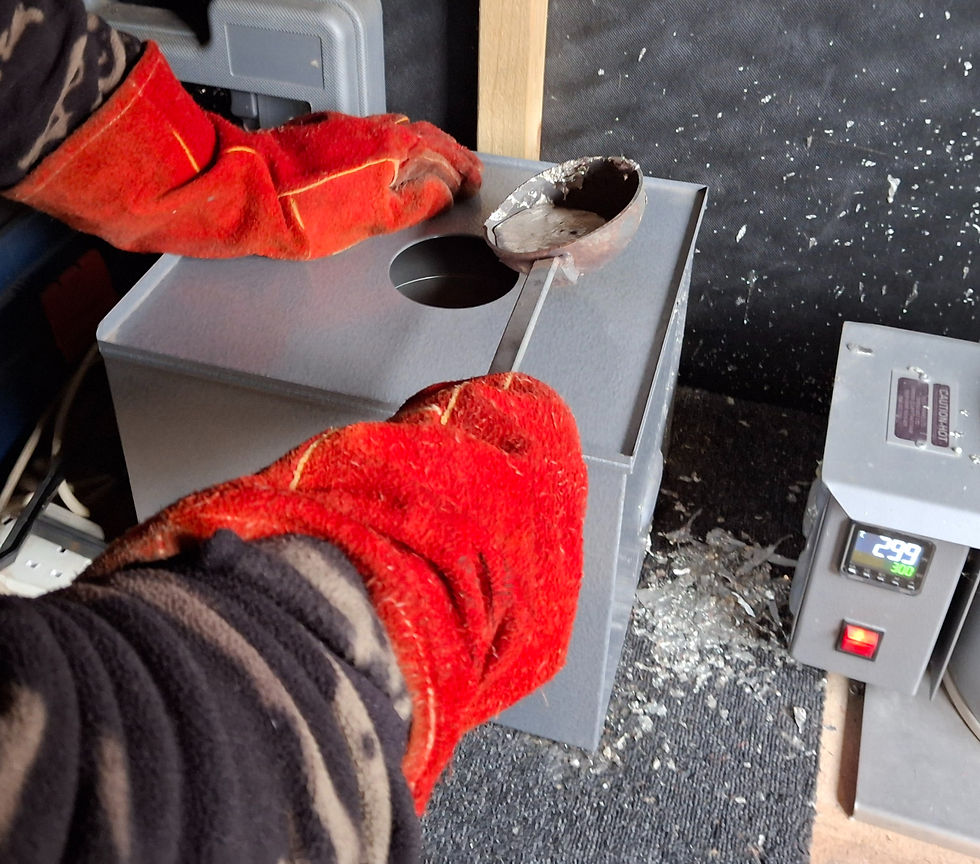
Pewter melts at about 232°C (450°F), and it’s important to maintain the right temperature for successful casting. The Cornish pewter maker I visited uses a small electric furnace—essentially a heated pot that keeps the pewter at a consistent molten state, ready to pour.
As the metal melted, it turned into a silvery, fluid molten pewter, ready to be poured into the mould.

It is important to monitor the temperature of the molten metal. When it reaches the right point, it flows smoothly and fills the mold evenly. Too hot or too cold, and you might get bubbles or imperfections on the surface.
Never cool pewter rapidly with water—it can cause cracking or splashing. Let it cool naturally for best results.
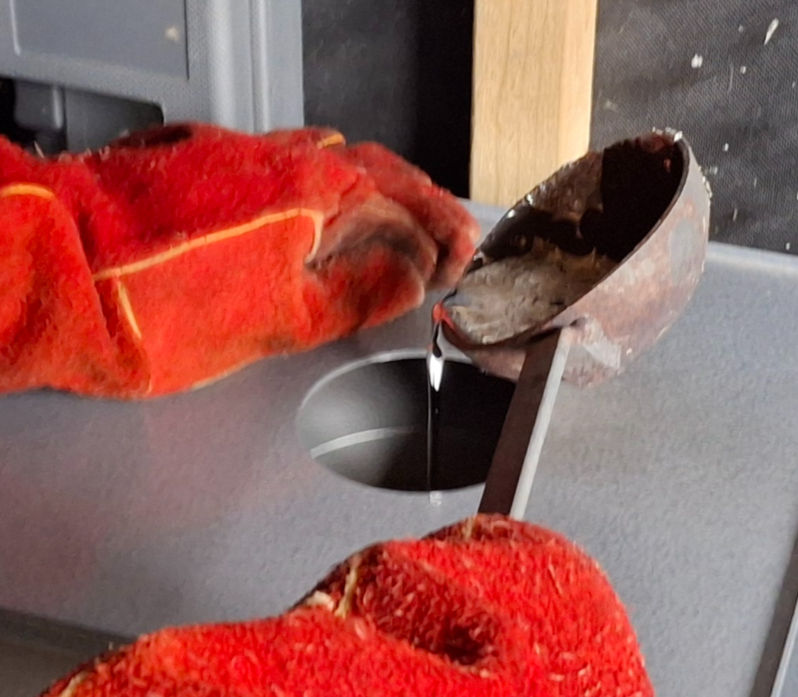
We watched as molten pewter was poured from a small electric furnace into these molds, and I captured a quick video of the metal hardening—it cooled within seconds. (It’s well worth a watch!)
Pouring & Cooling

With your molten pewter ready, pour it steadily into your prepared mold. Aim for a smooth, even flow to minimise bubbles and imperfections. You may see a skin or film form on the surface—this can be skimmed off later.
Once poured, allow the pewter to cool completely before removing it from the mold. Even small items benefit from a few minutes of rest to fully harden and set. It’s always best to err on the side of patience here—handling too early can distort the shape or cause surface marks.
Finishing Touches
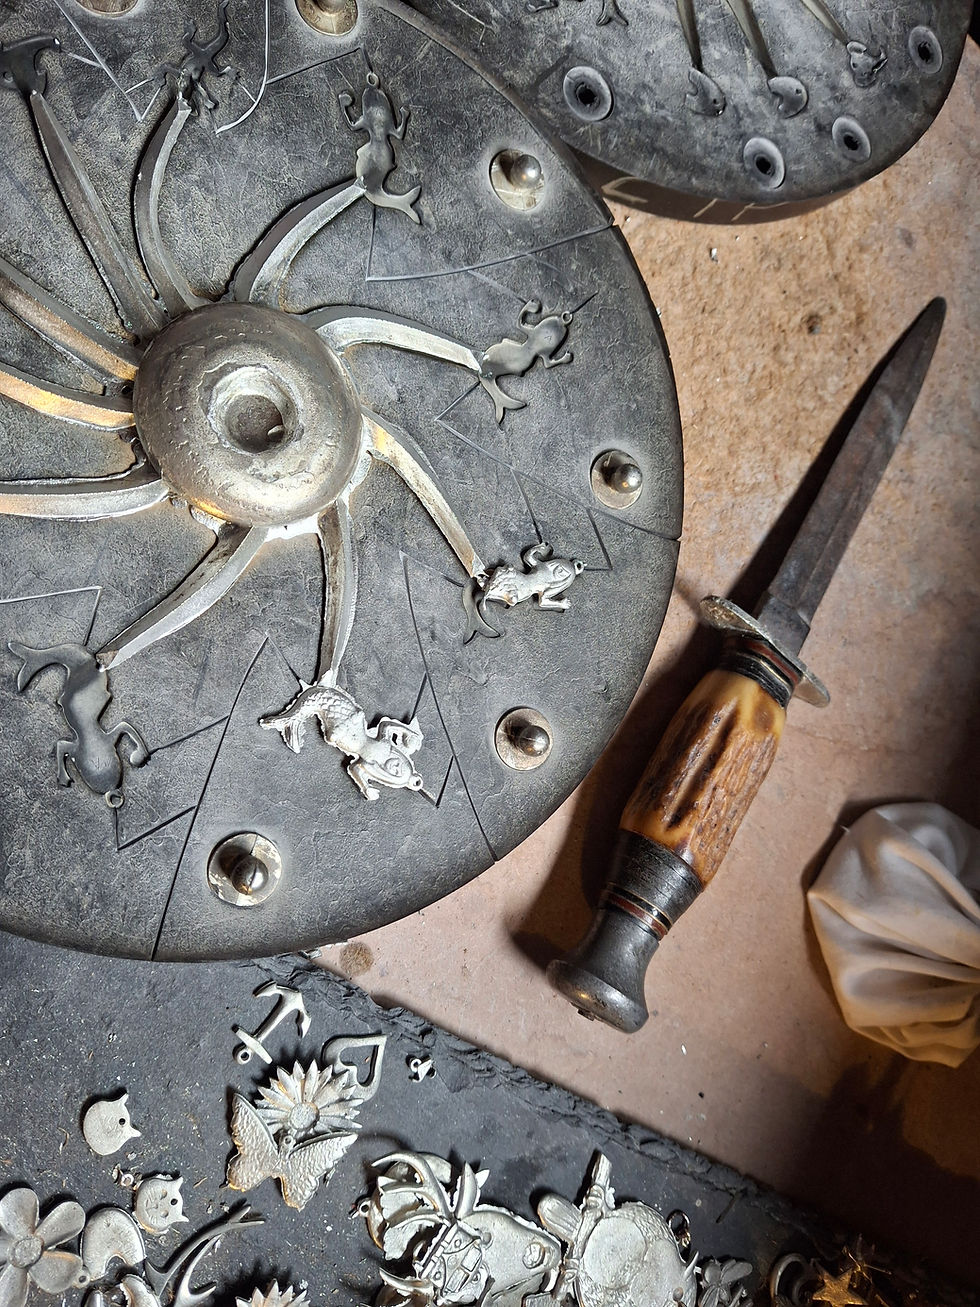
After cooling, the piece enters the fettling stage. Any rough edge is removed with a file, and then the polishing process begins.
Finishing is where a cast piece really starts to shine—literally. The maker I visited tumbles and polishes every pewter item by hand, using a series of steps to bring each piece to a brilliant high-shine finish. It’s an incredibly meticulous process, and one that gives the final jewellery its refined, polished look.
Troubleshooting and Practice
Casting pewter is as much an art as it is a science. If your first attempt isn’t quite right, don’t be discouraged. Imperfections are usually down to things like cooling speed, mold preparation, or pouring technique—and can often be corrected on the next try. The beauty of pewter is that it can be melted down and reused, so you can always start again.
Issues with air bubbles, unfilled sprue areas, or rough edges are often solved with small adjustments—either in temperature, pouring speed, or mold alignment.
A Note on Cuttlefish Bone Casting
Although our maker doesn’t use this technique, cuttlefish bone casting is still popular among beginners and hobbyists. The bone, or shell, comes from a cuttlefish and has a soft, chalky texture that can be easily carved with basic tools like nails or wire.
You can use double sided tape to secure the cuttlefish bone while carving your design. Before casting pewter, you’ll want to lightly dust the interior to help release the finished piece. Once poured, the molten metal fills the carved design and sets quickly.
It’s worth noting these moulds are single-use only, as the material degrades during the casting process. But they’re a great way to experiment and try out organic shapes.
If you're interested, here’s a detailed tutorial on cuttlebone casting from SculptyWorks:
Final Thoughts
Pewter casting is a fascinating process that blends creativity, skill, and patience. Whether you’re casting your own designs or simply curious about how handmade pewter jewellery is made, it’s a rewarding material to explore.
Getting to see the process up close in a small Cornish workshop reminded me just how much heart goes into every piece we offer at Sennen Jewellery. From sculpting the original design to the final polish, each stage is done by hand—an approach that feels increasingly rare and special.
If you're curious to see the results, take a look at our pewter jewellery collection on the Sennen Jewellery website. And if you’re experimenting with casting yourself, I hope this guide gives you the confidence to give it a go.
Happy casting!


Commentaires